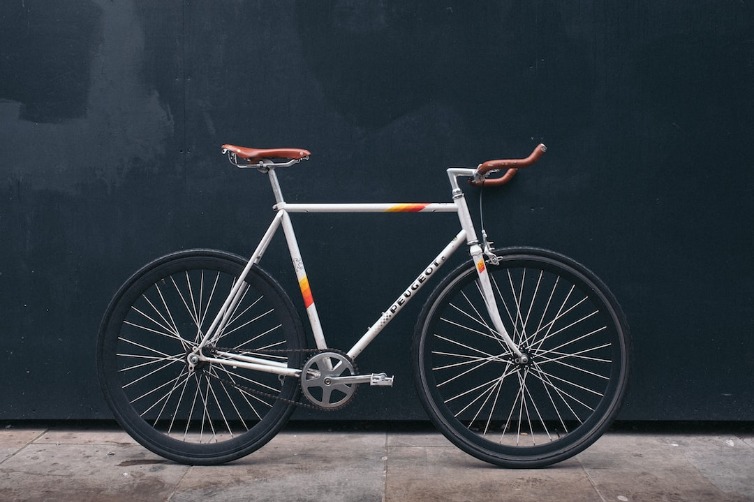
Replacing the bottom bracket on a mountain bike can be daunting, especially if you are new to bicycle maintenance. But don’t be intimidated! With the right tools and patience, this job can be completed in just a few steps.
This blog will provide the instructions and advice you need to tackle this job confidently. Read on to learn how to replace the bottom bracket on your mountain bike and get back on the trail.
Step-by-Step Guide to Replacing the Bottom Bracket
Replacing the bottom bracket on your mountain bike is a great way to increase the performance and efficiency of your ride. The bottom bracket is the part of your mountain bike that connects the crank arms and chainrings and can become worn over time.
This step-by-step guide will show you how to replace the bottom bracket on your mountain bike. Before starting, ensure you have the right tools and the replacement bottom bracket.
Step 1: Remove the Crank Arms and Chainrings
The first step to replacing your bottom bracket is to remove the crank arms and chainrings. Using a crank puller, loosen the bolt on the left side of the crank arm and remove the crank arms and chainrings.
Step 2: Remove the Bottom Bracket Shell
Once the crank arms and chainrings are removed, you’ll need to remove the bottom bracket shell. Using a bottom bracket tool, loosen the bolts on the bottom bracket shell and remove them.
Step 3: Install the Replacement Bottom Bracket
Now that the old bottom bracket is removed, you can install the new replacement bottom bracket. Insert the new bottom bracket into the bottom bracket shell and tighten the bolts.
Step 4: Reinstall the Crank Arms and Chainrings
Once the replacement bottom bracket is installed, you can reinstall the crank arms and chainrings. Ensure the chainrings are aligned correctly, and the crank arms are tightened.
Step 5: Test the Bottom Bracket
Once all the parts are in place, test the bottom bracket by spinning the crank arms and chainrings. If everything is working correctly, you’re ready to go.
If you’ve followed all the steps correctly, you should now have a fully functioning bottom bracket on your mountain bike.
Replacing the bottom bracket is an easy job that will help improve your overall riding experience. You can make your mountain bike perform its best with a few tools and the right parts.
We hope this step-by-step guide on replacing the bottom bracket on your mountain bike has been useful. If you have any questions or comments, feel free to leave them in the comments below.
Preparing to Replace the Bottom Bracket:
This is a popular repair task that anyone can do with the right tools and some basic knowledge. In this blog, we’ll go over how to prepare to replace the bottom bracket on a mountain bike, so you can get the job done quickly and correctly.
First, you’ll need to gather the right tools for the job. To replace a bottom bracket, you’ll need a bike stand, a crank puller, a bottom bracket tool, and a torque wrench.
You’ll also need a few other tools, such as Allen keys and a variety of open-end and adjustable wrenches, to help you complete the job.
Next, you’ll need to remove the crankset and the bottom bracket. Begin by loosening the crank bolts and unscrewing the crankset. Once it’s removed, turn the bike upside down and unscrew the bottom bracket cups. Once they’re off, you can remove the bottom bracket.
Now you’re ready to install the new bottom bracket. Begin by placing the new bottom bracket into the frame. Once it’s in place, you’ll need a torque wrench to tighten the cups. Ensure you don’t overtighten the cups, as it can damage the frame.
You’ll need to reinstall the crankset. Place the crankset onto the spindle, and use a crank puller tool to ensure it’s seated correctly. Finally, re-install the crank bolts and use a torque wrench to tighten them properly.
Following these steps, you can easily replace the bottom bracket on your mountain bike. If you’re still having trouble or have questions about the process, it’s best to consult a professional for assistance. With the right tools and knowledge, you’ll be able to get your bike back on the trail in no time!
Installing the New Bottom Bracket:
Installing a new bottom bracket is more manageable than it may seem, and it’s a great way to keep your bike running smoothly. This blog post will explain the steps required to install a new bottom bracket on a mountain bike.
The first step is to remove the old bottom bracket. To do this, you’ll need the necessary tools, including a bottom bracket removal tool (typically included in most bicycle tool kits), a wrench, and a screwdriver.
Begin by removing the crankset, then loosen the lockring and bottom bracket cup with the removal tool. Finally, unscrew the bottom bracket from the frame.
Once the old bottom bracket has been removed, it’s time to prepare the frame for the new one. You’ll need to clean the frame and threads for the new bottom bracket installation with the frame-free from the bottom bracket.
Next, you’ll need to select the correct bottom bracket for your bike. Bottom brackets come in various sizes and types, so it’s important to get the right one for your bike. Check your bike’s manual for the correct specifications.
Now you’re ready to install the new bottom bracket. Start by placing the new bottom bracket into the frame, then tighten the lockring with a wrench. After that, use the bottom bracket cups and screws to secure the bracket.
Reinstall the crankset and make sure all bolts are tightened securely. You should now have a brand-new bottom bracket installed on your mountain bike.
Installing a new bottom bracket is a great way to keep your bike running smoothly, and the task is more manageable than it may seem.
With a few basic tools and patience, you can easily replace the bottom bracket on your mountain bike and return to enjoying your ride.
Conclusion
In conclusion, replacing the bottom bracket on a mountain bike is relatively easy and can be done in a relatively short amount of time. With the right tools, knowledge, and patience, you can easily replace the bottom bracket on your mountain bike and ensure that your bike runs smoothly and efficiently.
Frequently Asked Questions
Is replacing the bottom bracket a difficult task?
Replacing a bottom bracket is relatively simple and can be done at home with the right tools and instructions.
How do I know what size bottom bracket my mountain bike requires?
Generally, the size of the bottom bracket will be written on the bracket itself or found in the specifications for your mountain bike.
What steps do I need to take to replace the bottom bracket?
First, you will need to remove the crankset from the bike. Next, remove the bottom bracket from the frame, unscrew the old bracket, and remove the seals. Finally, you will need to install the new bottom bracket and secure it to the frame using the appropriate bolts.